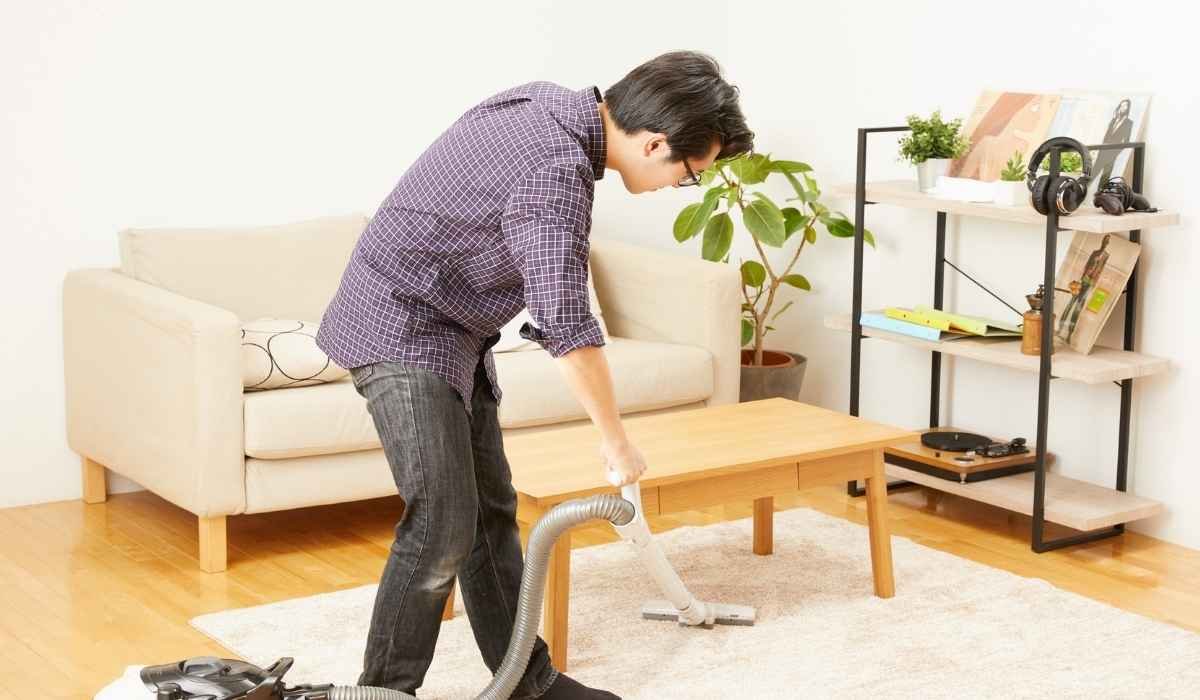
Is your carpet cleaner leaking and leaving puddles where it shouldn’t? If you’ve noticed water dripping from your machine, you’re probably wondering, “Why is my carpet cleaner leaking?” This problem can be frustrating, especially when you just want a clean carpet without the mess.
But don’t worry—understanding the common causes of leaks can help you fix the issue quickly and get back to cleaning with confidence.
You’ll discover simple steps to identify why your carpet cleaner is leaking and how to stop it, saving you time, effort, and potential damage to your floors.
Keep reading to learn how to tackle this problem like a pro!
Table of Contents
Common Leak Sources
Leaks from a carpet cleaner often start at specific parts. Knowing these common leak sources helps identify the problem fast. Many leaks occur due to worn or misplaced components. Checking these areas can save time and repair costs. Below are key parts to inspect when your carpet cleaner leaks.
Water Tanks
The water tanks hold clean and dirty water during cleaning. Cracks or loose lids on these tanks cause leaks. Ensure tanks fit tightly and caps are sealed well. Small cracks in the plastic can let water escape. Remove tanks and check for any damage or misalignment.
Rubber Gaskets And Seals
Rubber gaskets create watertight seals between parts. Over time, gaskets wear, crack, or get dirty. This damage lets water leak out during use. Inspect gaskets for cracks or missing pieces. Clean debris from seals to improve their fit. Replace worn gaskets to stop leaks effectively.
Internal Hoses And Valves
Inside the carpet cleaner, hoses and valves move water. A cracked or loose hose leaks water inside the machine. Valves that do not close fully cause drips and spills. Check hoses for holes or disconnections. Test valves for proper opening and closing. Repair or replace faulty parts to fix leaks.
Brushroll Area
The brushroll area often collects water during cleaning. Water can leak if seals around this part fail. Dirt buildup may block drainage, causing overflow and leaks. Clean the brushroll and its housing regularly. Inspect seals and replace if damaged. Keep this area dry to prevent leaks.
Quick Leak Checks
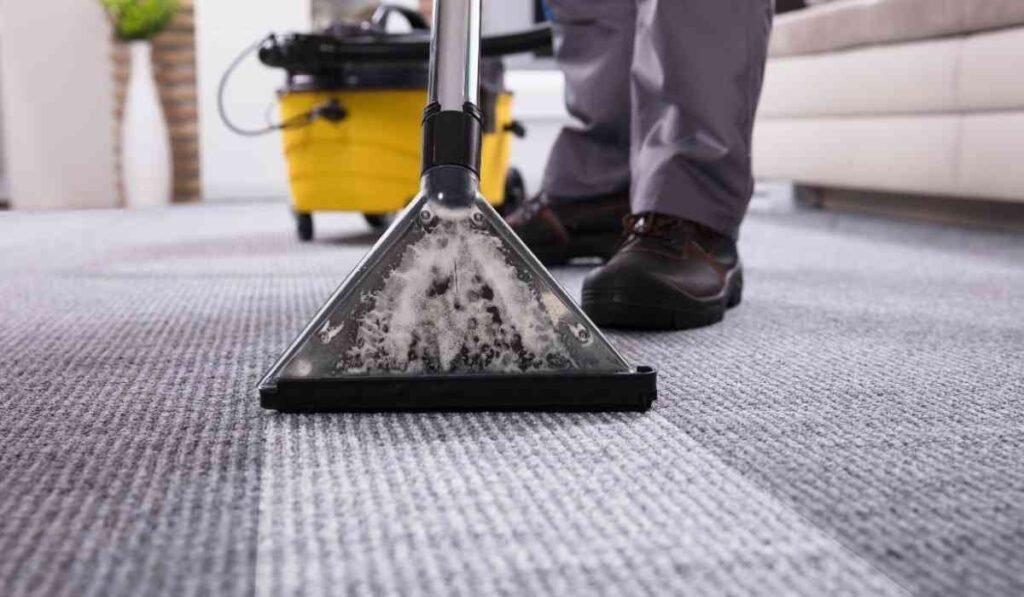
Quick leak checks help find the cause of your carpet cleaner’s leaks fast. These simple steps save time and prevent water damage.
Start by focusing on the water tanks and their seals. Small issues like loose parts or dirt can cause leaks. Regularly checking these areas keeps your carpet cleaner working well.
Seating Water Tanks Properly
Always place water tanks firmly in their slots. A loose tank lets water escape and causes leaks. Remove the tanks and put them back carefully.
Make sure they click into place. Check that the cleaner sits evenly on the floor after inserting tanks. Proper seating stops water from dripping out.
Inspecting For Cracks
Look closely at both clean and dirty water tanks. Cracks or holes let water leak outside. Shine a light inside and outside the tanks. Even small cracks can grow and cause bigger leaks later. Replace tanks if you find any damage. Using cracked tanks risks water damage to your floors.
Checking Tank Caps And Plugs
Secure the caps tightly on the water tanks. Loose caps allow water to spill during cleaning. Check the plugs on the dirty water tank’s spout. Make sure they fit snugly and do not move. Damaged or missing caps and plugs need replacement. Tight caps and plugs keep water contained safely.
Cleaning Seals And Gaskets
Remove dirt and hair from rubber seals and gaskets on tanks. Debris stops seals from fitting correctly. Use a damp cloth to clean seals gently. Clean seals prevent leaks between the tank and machine. Inspect seals regularly and replace them if worn or cracked. Well-maintained seals keep water inside the tanks.
Fixes For Tank Leaks
Tank leaks in carpet cleaners cause water to spill and reduce cleaning efficiency. Fixing these leaks can save money and extend your machine’s life. Most leaks come from worn or loose parts that seal the tank. Simple fixes often stop the leaks quickly.
Replacing Worn Gaskets
Gaskets create a watertight seal between the tank and the machine. Over time, gaskets wear out or crack. Remove the tank and check the gasket for damage. Replace any worn or cracked gaskets with new ones. This simple step often stops leaks immediately.
Securing Loose Caps
Loose tank caps allow water to escape during use. Check that the cap fits tightly on the tank. Twist the cap firmly until it locks in place. Make sure the sealing ring under the cap is clean and in good condition. Tight caps prevent water from leaking out.
Removing Debris From Seals
Dirt and debris can block seals and cause leaks. Remove the tank and clean the seals with a damp cloth. Clear away hair, dust, and other buildup around the gasket. Clean seals fit better and stop water from leaking out. Regular cleaning helps keep your cleaner leak-free.
You May Like: 5 Best Way to Clean a White Couch
Addressing Internal Issues
Internal issues often cause carpet cleaners to leak water. These problems usually involve parts inside the machine that wear out or get clogged. Fixing these issues can stop leaks and keep the cleaner working well. Focus on the dispensing valve, hoses, and any blockages inside the device. Simple checks and repairs often solve the problem.
Resetting Dispensing Valve
The dispensing valve controls the flow of water and cleaning solution. If it gets stuck or jammed, water may leak from the machine. Turn off and unplug the cleaner before starting. Remove the valve carefully and clean it with warm water.
Check for damage or buildup that blocks movement. After cleaning, reset the valve into place. Test the machine to see if the leak stops.
Inspecting And Repairing Hoses
Hoses inside the carpet cleaner carry water between tanks and the brush. Cracks, holes, or loose connections can cause leaks. Unplug the cleaner and open the hose compartments. Look for visible damage or wear on the hoses.
Tighten any loose fittings and replace damaged hoses. Use a hose kit made for your model if needed. Secure all connections firmly before testing the cleaner again.
Clearing Blockages
Blockages in the internal parts can cause water to back up and leak. Hair, dirt, or debris often clog the hoses or valves. Disconnect hoses and valves to check for obstructions. Use a soft brush or a thin tool to remove any buildup.
Flush parts with water to clear small particles. Reassemble the cleaner and run a test cycle to confirm the leak is fixed.
Handling Residual Water
After using your carpet cleaner, some water may remain inside the machine. This leftover water can cause leaks if not handled properly. Managing residual water helps keep your cleaner dry and working well.
Proper care after cleaning prevents damage and reduces leaks. Small steps make a big difference in how your machine performs.
Normal Water After Use
It is normal for a small amount of water to stay inside after cleaning. This water is usually in the dirty water tank or inside the hose. It does not mean your machine is broken.
Empty both clean and dirty water tanks immediately after use. Leaving water inside can cause leaks or mold growth. Make sure to dry the tanks before storing the machine.
Using Absorbent Mats
Place an absorbent mat under your carpet cleaner during and after use. These mats soak up any drips or spills. They protect your floor from water damage.
Absorbent mats also keep the area clean and dry. This simple tool helps manage any residual water effectively. It reduces the chance of water leaking onto your floor.
When To Replace Parts
Knowing when to replace parts in your carpet cleaner helps stop leaks and keeps it working well. Some components wear out over time. Replacing them early prevents bigger damage. Watch for signs like dripping, weak suction, or strange noises.
Identifying Faulty Pumps
The pump moves water through your carpet cleaner. A faulty pump often causes leaking. Check for water pooling under the machine during use.
Listen for a buzzing sound or no sound at all. If water leaks near the pump area, the seals or the pump itself might be broken. Replace the pump if it does not push water properly or leaks persist.
Dealing With Damaged Valves
Valves control water flow inside the carpet cleaner. Damaged valves let water escape at wrong points. Inspect valves for cracks or stiffness.
Water leaking from valve areas signals a problem. Replace valves that stick or drip continuously. New valves restore proper water flow and stop leaks.
Finding Cracked Hoses
Hoses carry water between tanks and the cleaning head. Cracked or split hoses cause visible leaks. Look for wet spots or stains on hoses. Squeeze hoses gently to feel for weak spots. Replace hoses with visible cracks or holes. A fresh hose ensures tight water flow and no leaks.
Preventive Maintenance Tips
Preventive maintenance helps keep your carpet cleaner working well. Small checks and regular care stop leaks before they start. Follow simple steps to maintain your machine’s parts and seals. This saves time and money on repairs.
Regular Cleaning Routines
Clean the tanks after every use. Empty both clean and dirty water tanks fully. Rinse tanks with warm water to remove dirt and soap. Wipe the seals and edges to prevent buildup. This keeps parts dry and prevents damage.
Proper Storage Practices
Store the carpet cleaner in a dry, cool place. Avoid leaving water inside the tanks overnight. Keep the cleaner upright to stop water from dripping. Cover the machine to keep dust off. Proper storage protects seals and hoses from wear.
Routine Seal Inspections
Check seals and gaskets regularly for cracks or wear. Remove the water tanks and inspect rubber rings carefully. Replace any damaged seals to keep a tight fit. Clean seals with a damp cloth to remove debris. Good seals prevent water leaks and improve cleaning.
Brand-specific Advice
Different carpet cleaner brands have unique designs and parts. This means leaks can happen for brand-specific reasons. Understanding these reasons helps fix leaks faster. Below are tips for two popular brands: Bissell and Hoover.
Bissell Leak Fixes
Bissell carpet cleaners often leak due to worn rubber gaskets. These gaskets seal the clean water tank to the machine. Check under the clean water tank for a black or clear rubber O-ring. If it is cracked, missing, or worn, water can leak inside the base.
Remove the clean water tank and clean the gasket area of all dirt and debris. Make sure the gasket is seated firmly and correctly.
Replace the gasket if damaged. Also, inspect the dirty water tank cap. Twist it clockwise until the arrow lines up with the lock symbol. This ensures a tight seal and stops leaks.
Hoover Leak Troubleshooting
Hoover carpet cleaning may leak from the bottom due to loose or damaged water tanks. Check that both clean and dirty water tanks are fully seated. A loose tank can cause water to drip out. Inspect the clean water tank for any cracks or damage.
Make sure the cap is tight and the rubber gasket is in place. The dirty water tank lid must be on tight, and the spout plug fully pushed in.
Clean the rubber gaskets on both tanks from any buildup. Applying a small amount of petroleum jelly on the gasket can improve the seal temporarily.
Check internal parts like hoses and valves for cracks or blockages. These can cause leaks inside the machine. Proper inspection and cleaning help keep your Hoover carpet cleaner leak-free.
Frequently Asked Questions
How To Fix Bissell Carpet Cleaner Leaking From The Bottom?
Remove the clean water tank and inspect the rubber gasket for cracks or wear. Clean debris from seals. Ensure tanks are seated correctly and caps are tight. Check internal hoses for damage. Replace faulty gaskets or valves to stop leaks from the bottom of your Bissell carpet cleaner.
How To Fix Leaking Carpet Cleaner?
Check and reseat water tanks properly. Inspect and clean rubber gaskets for damage or debris. Tighten all caps and seals. Examine hoses and valves for cracks or blockages. Clean internal filters and brush area. Apply petroleum jelly to gaskets for better sealing if needed.
Why Is My Hoover Carpet Cleaner Leaking From The Bottom?
Your Hoover carpet cleaner leaks from the bottom due to loose tanks, damaged seals, cracked hoses, or faulty valves. Check that water tanks are properly seated and sealed. Inspect and clean rubber gaskets, hoses, and valves. Tighten caps and remove debris to prevent leaks.
Why Is My Pump Leaking From The Bottom?
Your pump leaks from the bottom due to worn or missing seals, loose tanks, cracked hoses, or faulty valves. Check and secure all seals and tanks. Clean debris from gaskets and inspect internal hoses for damage. Replace damaged parts to stop leaking effectively.
Why Is My Carpet Cleaner Leaking From The Bottom?
A loose or damaged water tank, worn seals, or cracked hoses can cause leaks from the bottom.
Conclusion
Carpet cleaner leaks usually come from loose tanks or damaged seals. Check all gaskets and tanks for cracks or dirt.
Clean seals and tighten caps to stop leaks fast. Inspect hoses inside for splits or blockages. Regular maintenance helps your cleaner work better and last longer.
Fix small problems early to avoid costly repairs. Keep your carpet cleaner dry and ready for use. Simple care prevents leaks and keeps your floors fresh.


Leave a Reply